You've received an email to set up a workplace Adobe login... Now what?
Easy! Follow this simple guide to enable Adobe services on your account so you can use it on the Remote Desktop Server.
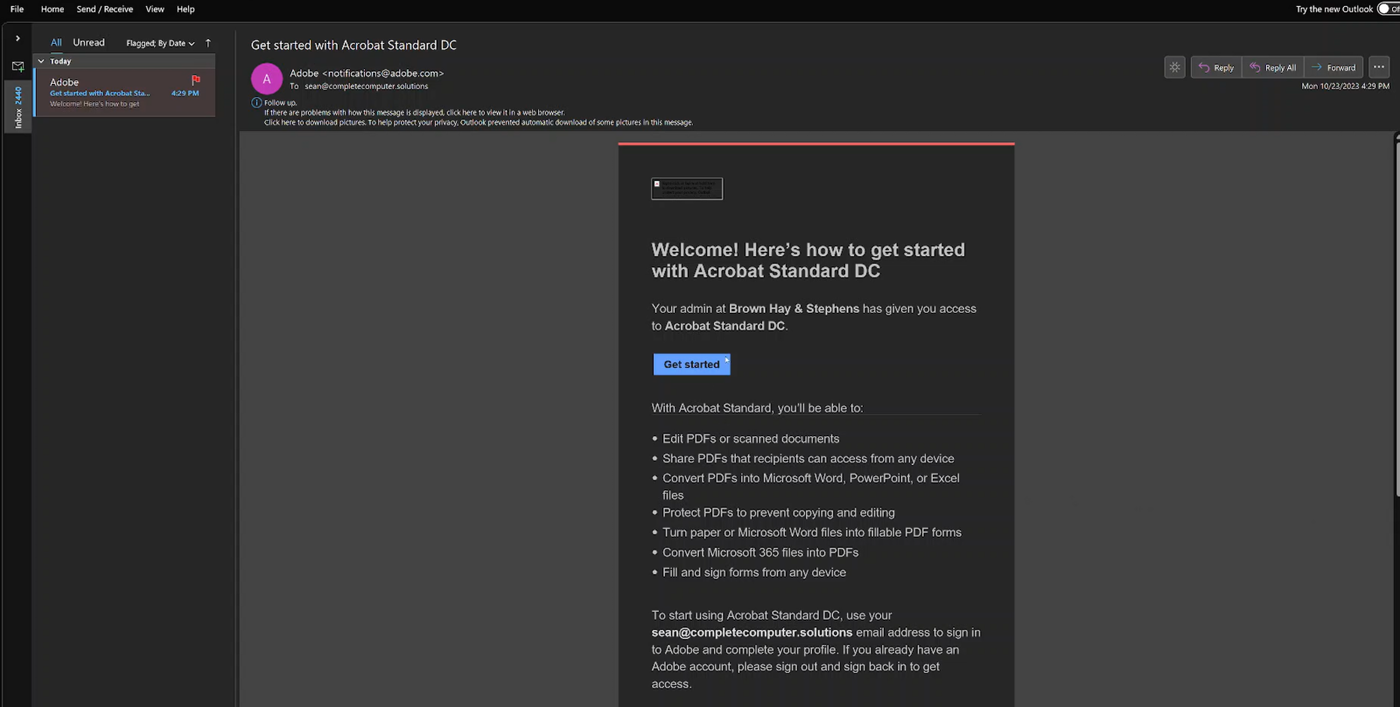 1. Click the "Get Started" button in the email you received from Adobe.
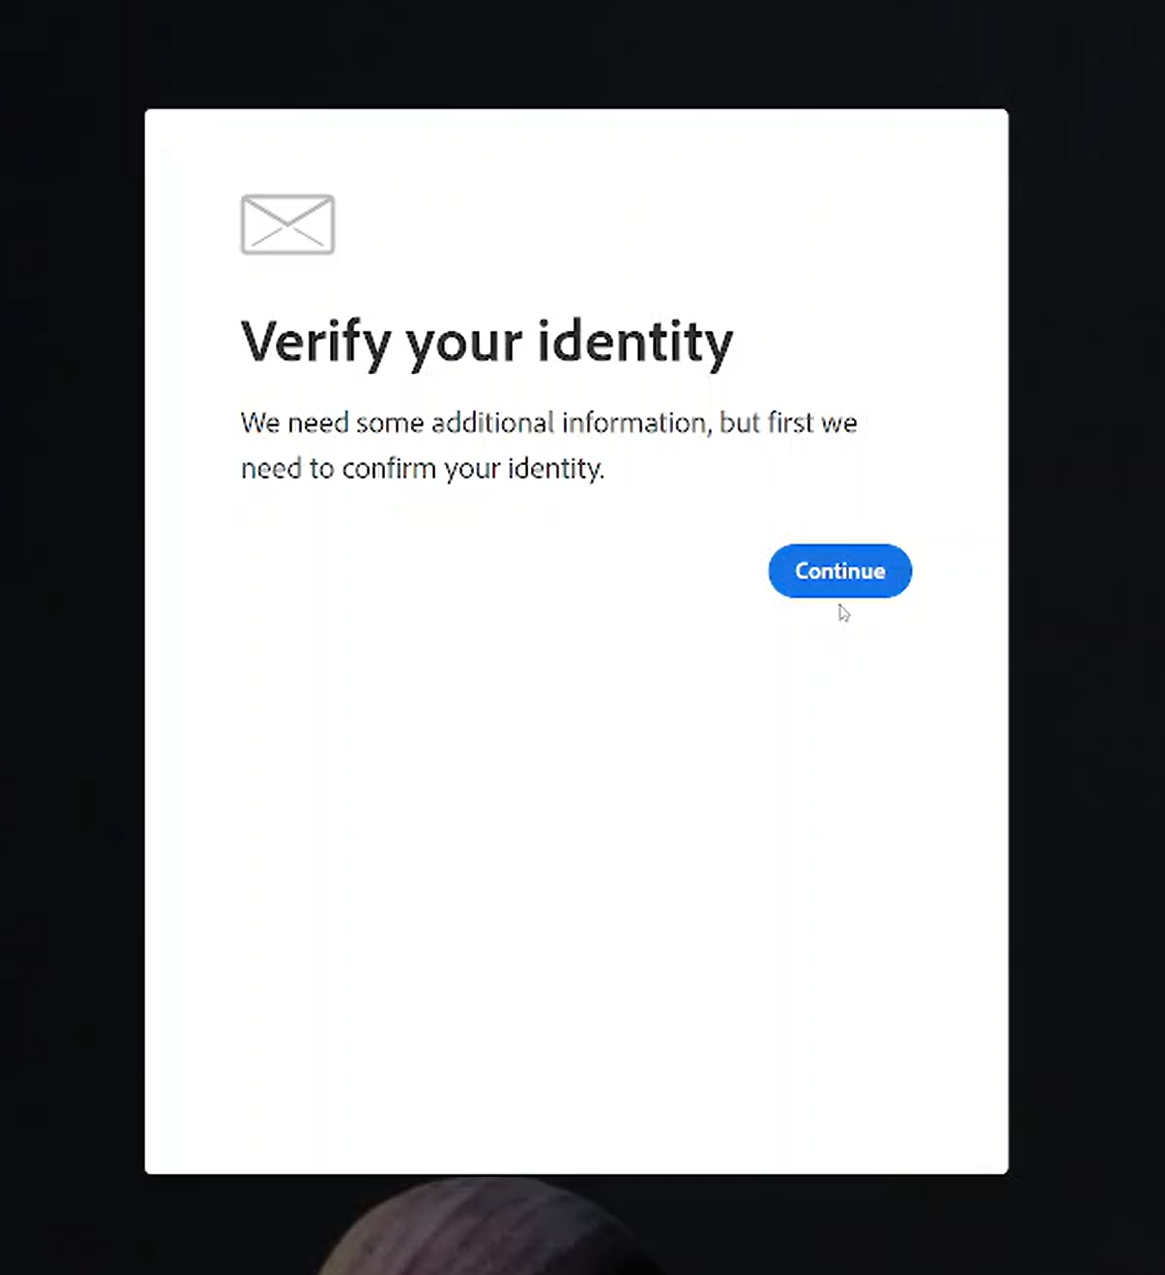 2. In the browser window that opens, you'll be prompted to verify your identity. Click the "Continue" button to do this. The code will be sent to your email account.
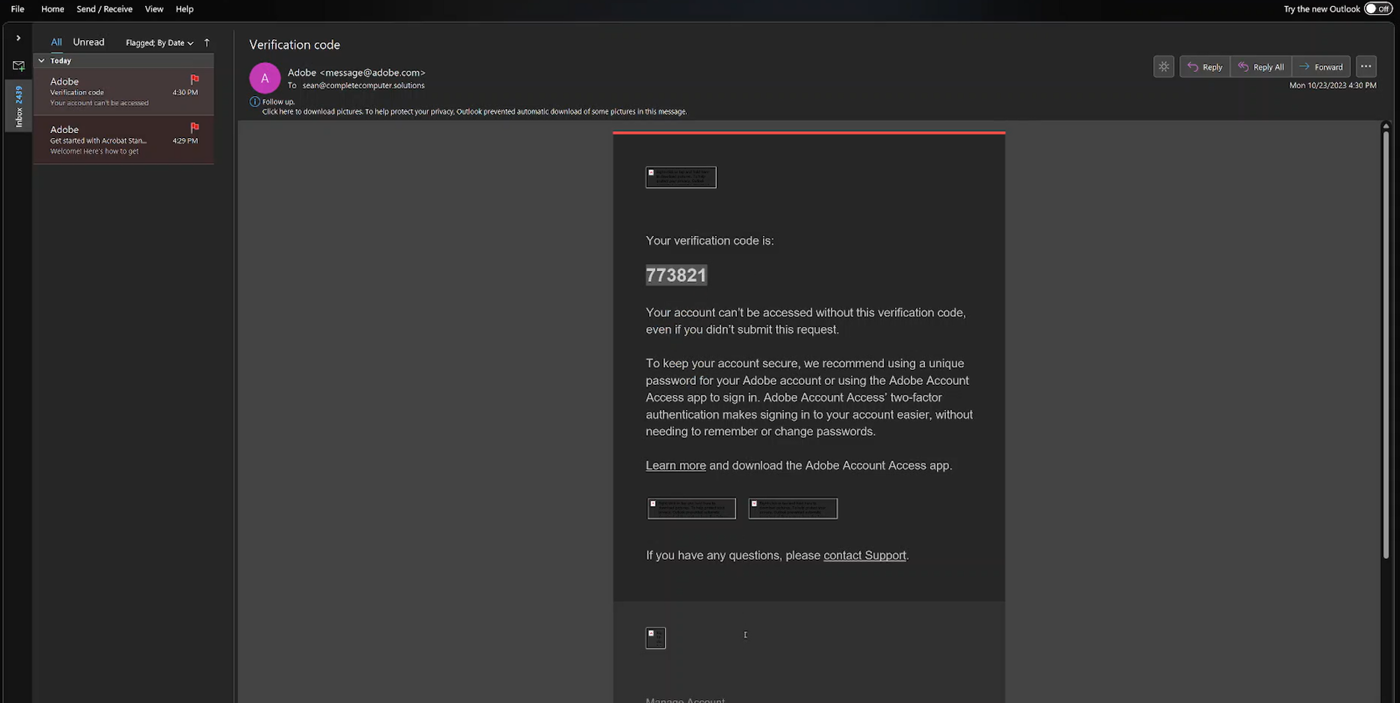
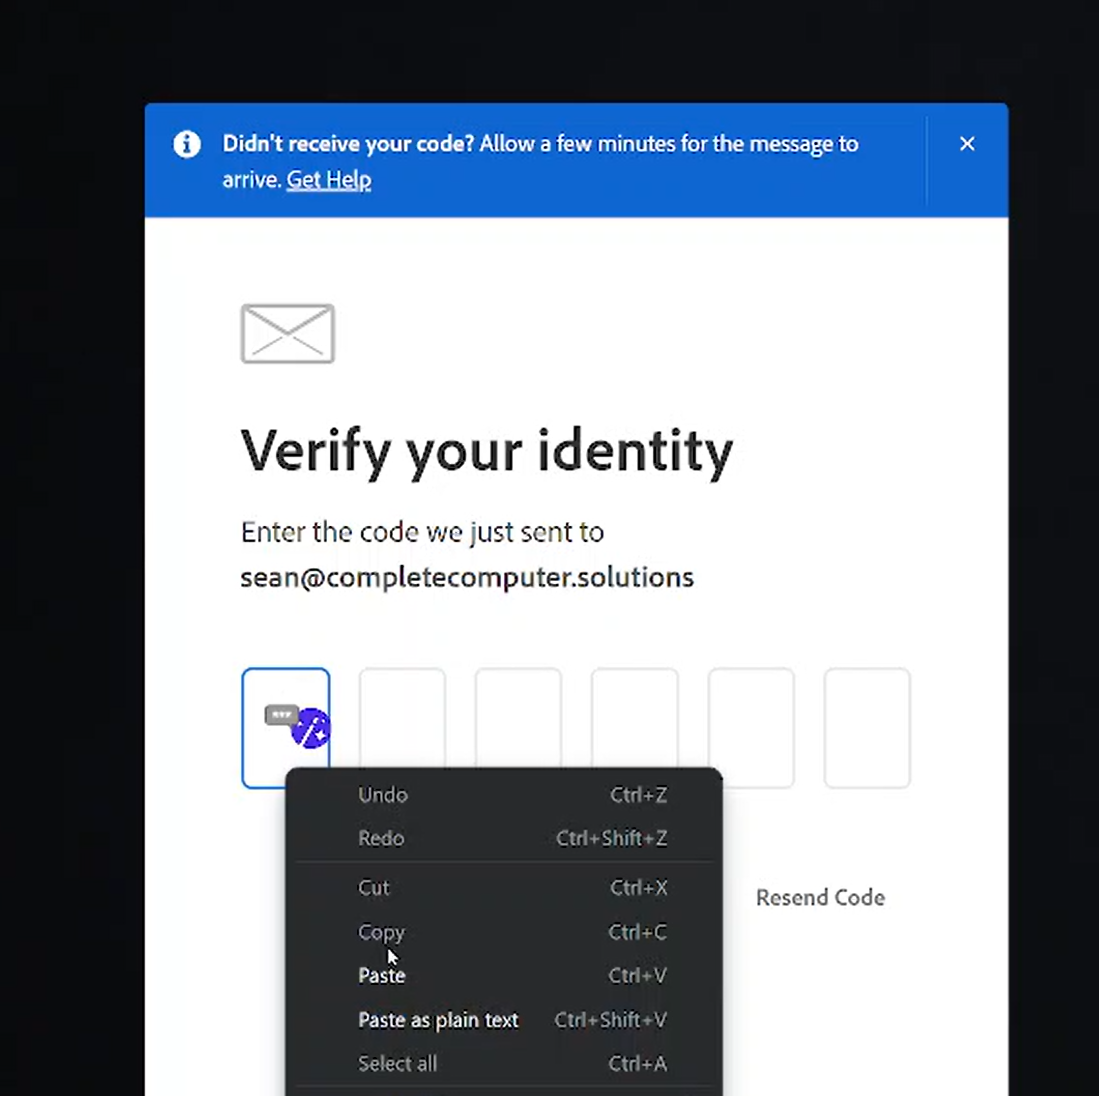
3. Copy the code from the email and paste it in the prompt with the boxes.
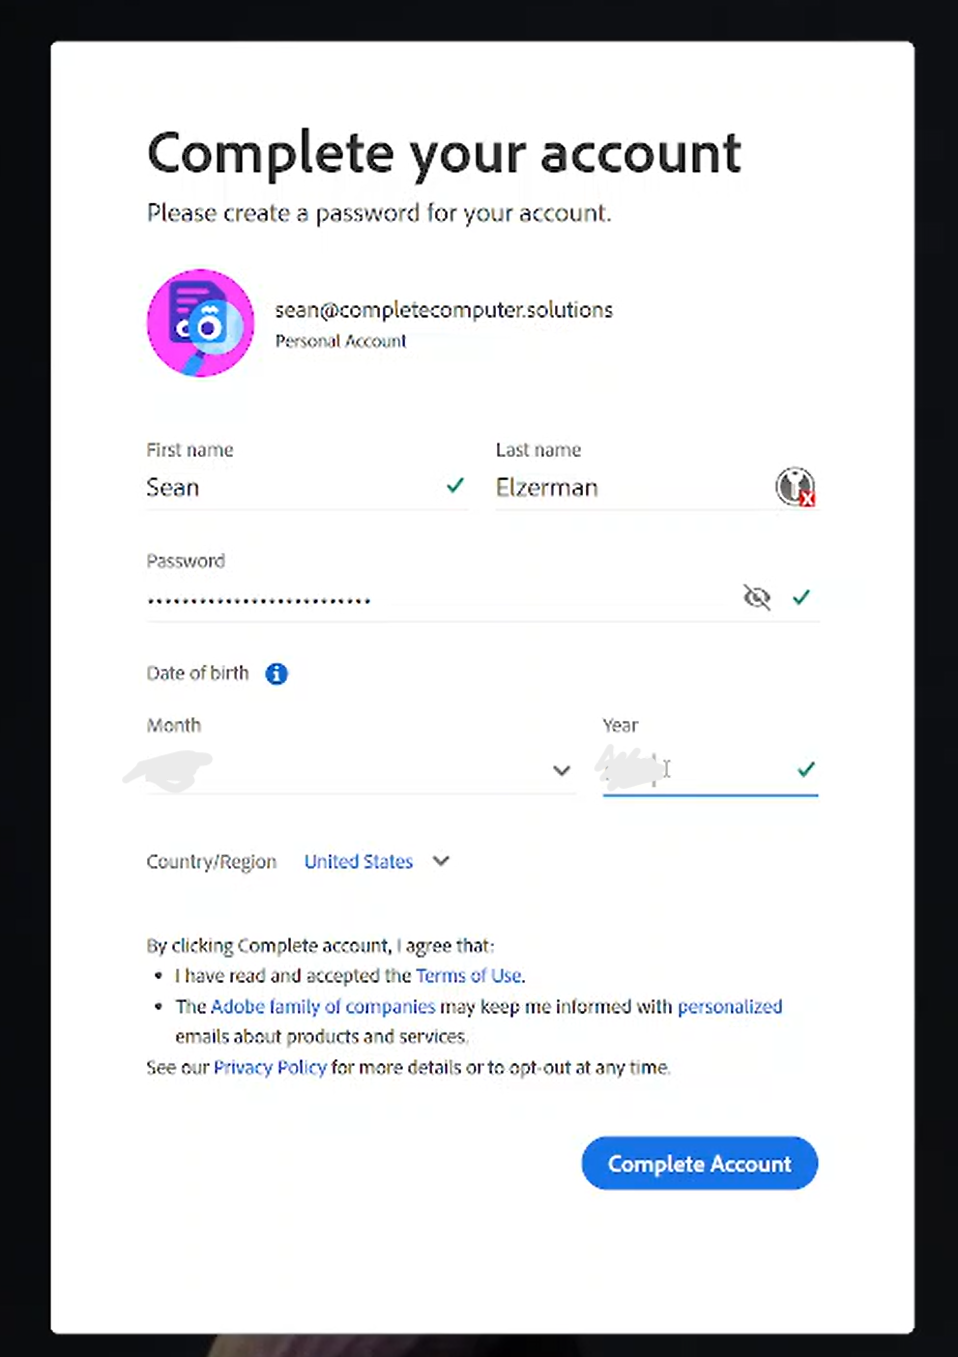
4. Fill in your personal details on the following page that appears. Pick a memorable, unique, and secure password.
5. Open a remote desktop session with the server. Open the Adobe Acrobat application.
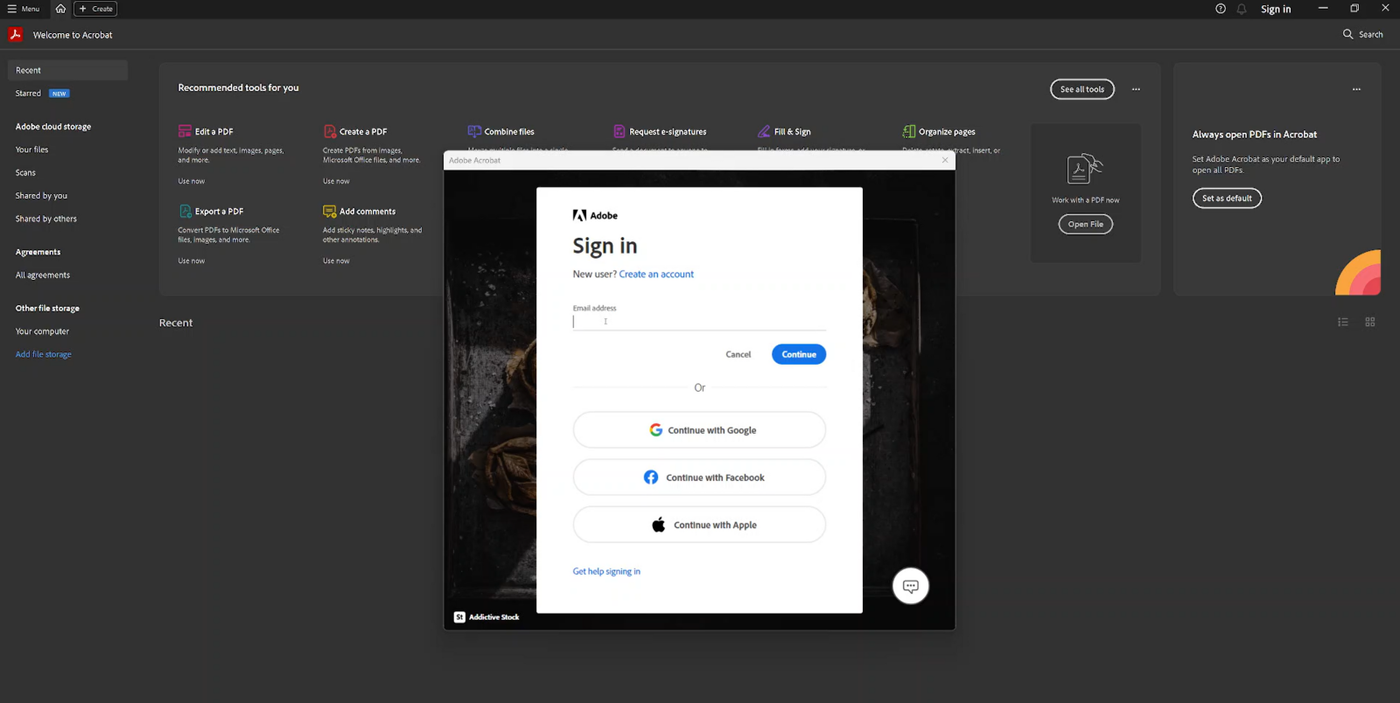 6. Sign in with the username and password created in step 4.
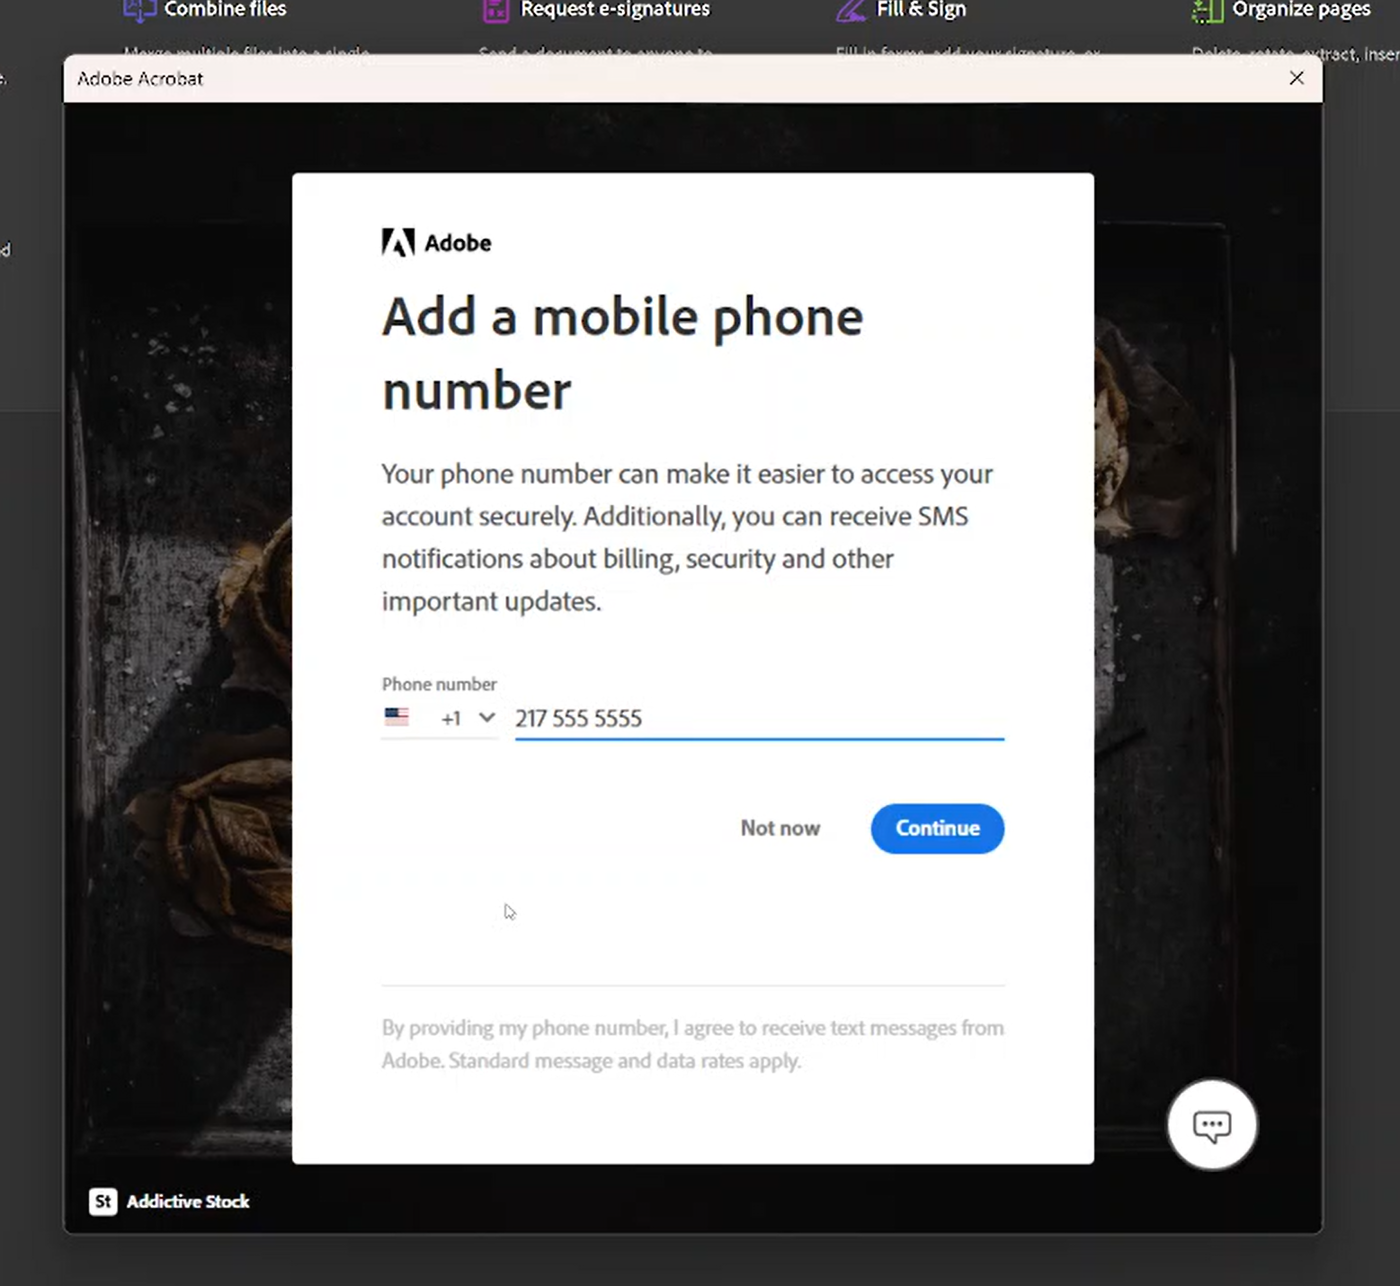 7. Add your cell phone number when prompted. This will be used for multifactor authentication.
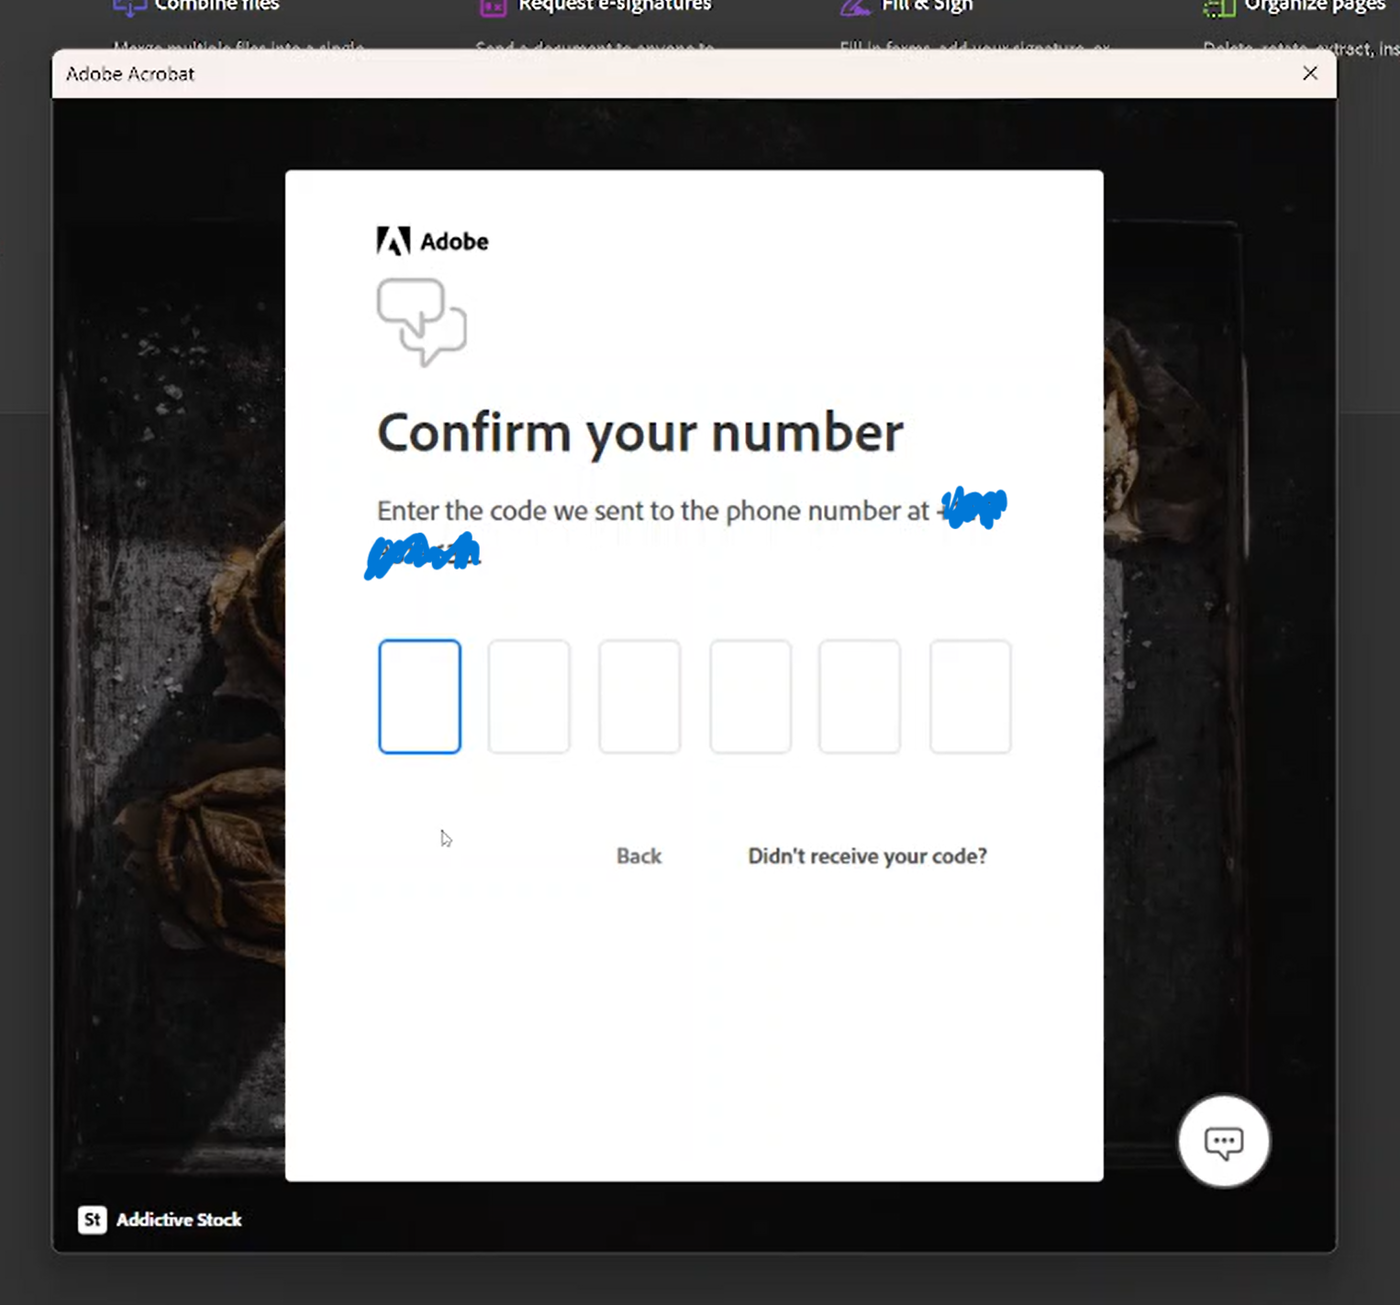
8. You will receive a text, you will need to enter the code on the next page.
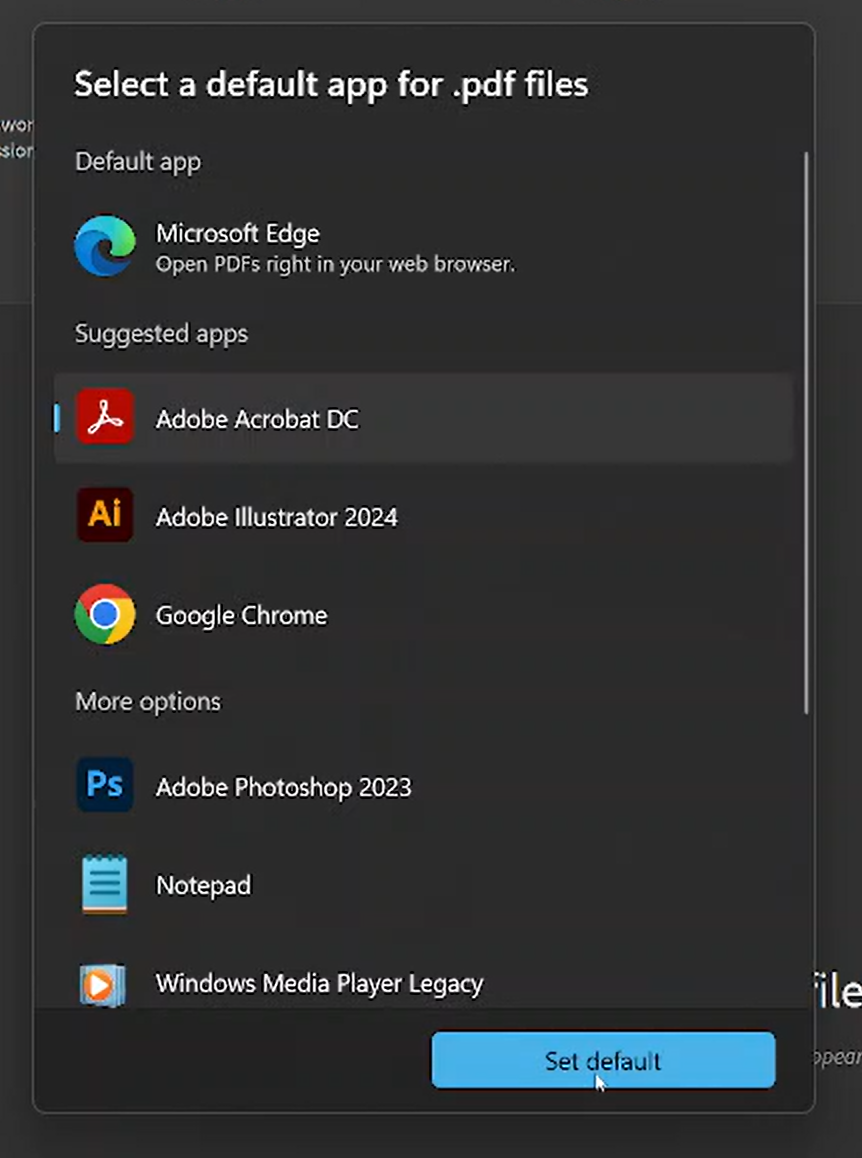 9. Selected "Adobe Acrobat DC" as the default app for .pdf files. The image may look slightly different than what is pictured here.
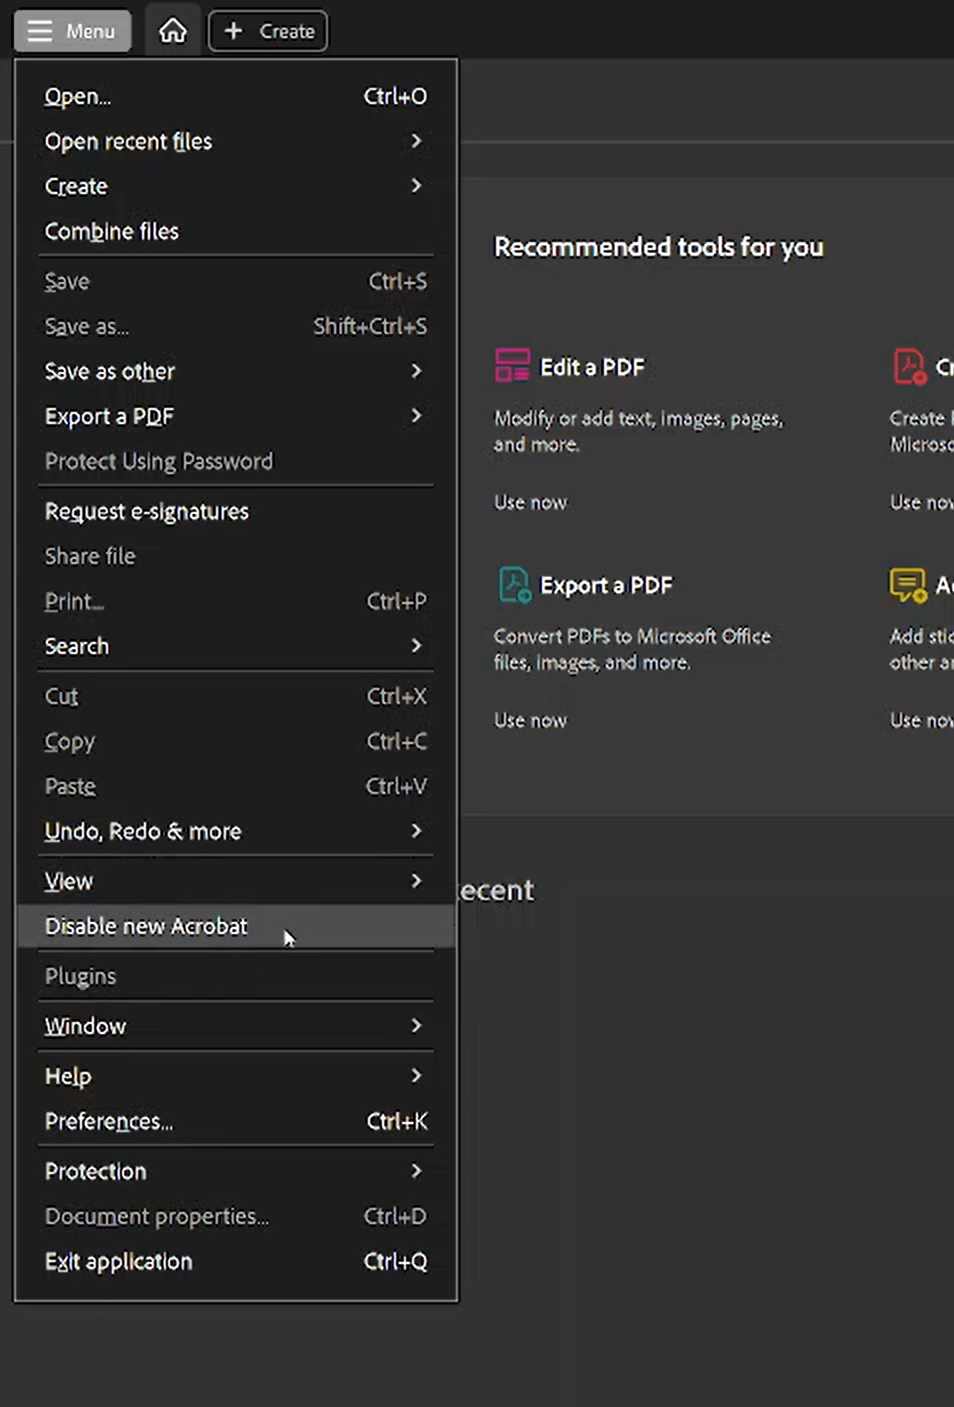 10. Disable the new Acrobat experience by selecting the "Menu" option in the top left corner of the screen, then selecting the "Disable new Acrobat" option to give a more familiar feel to your application. This will also show the "Perfectlaw" option in the menu bar. The application will prompt you to restart.
 11. When Acrobat re-opens, select Edit > Preferences...
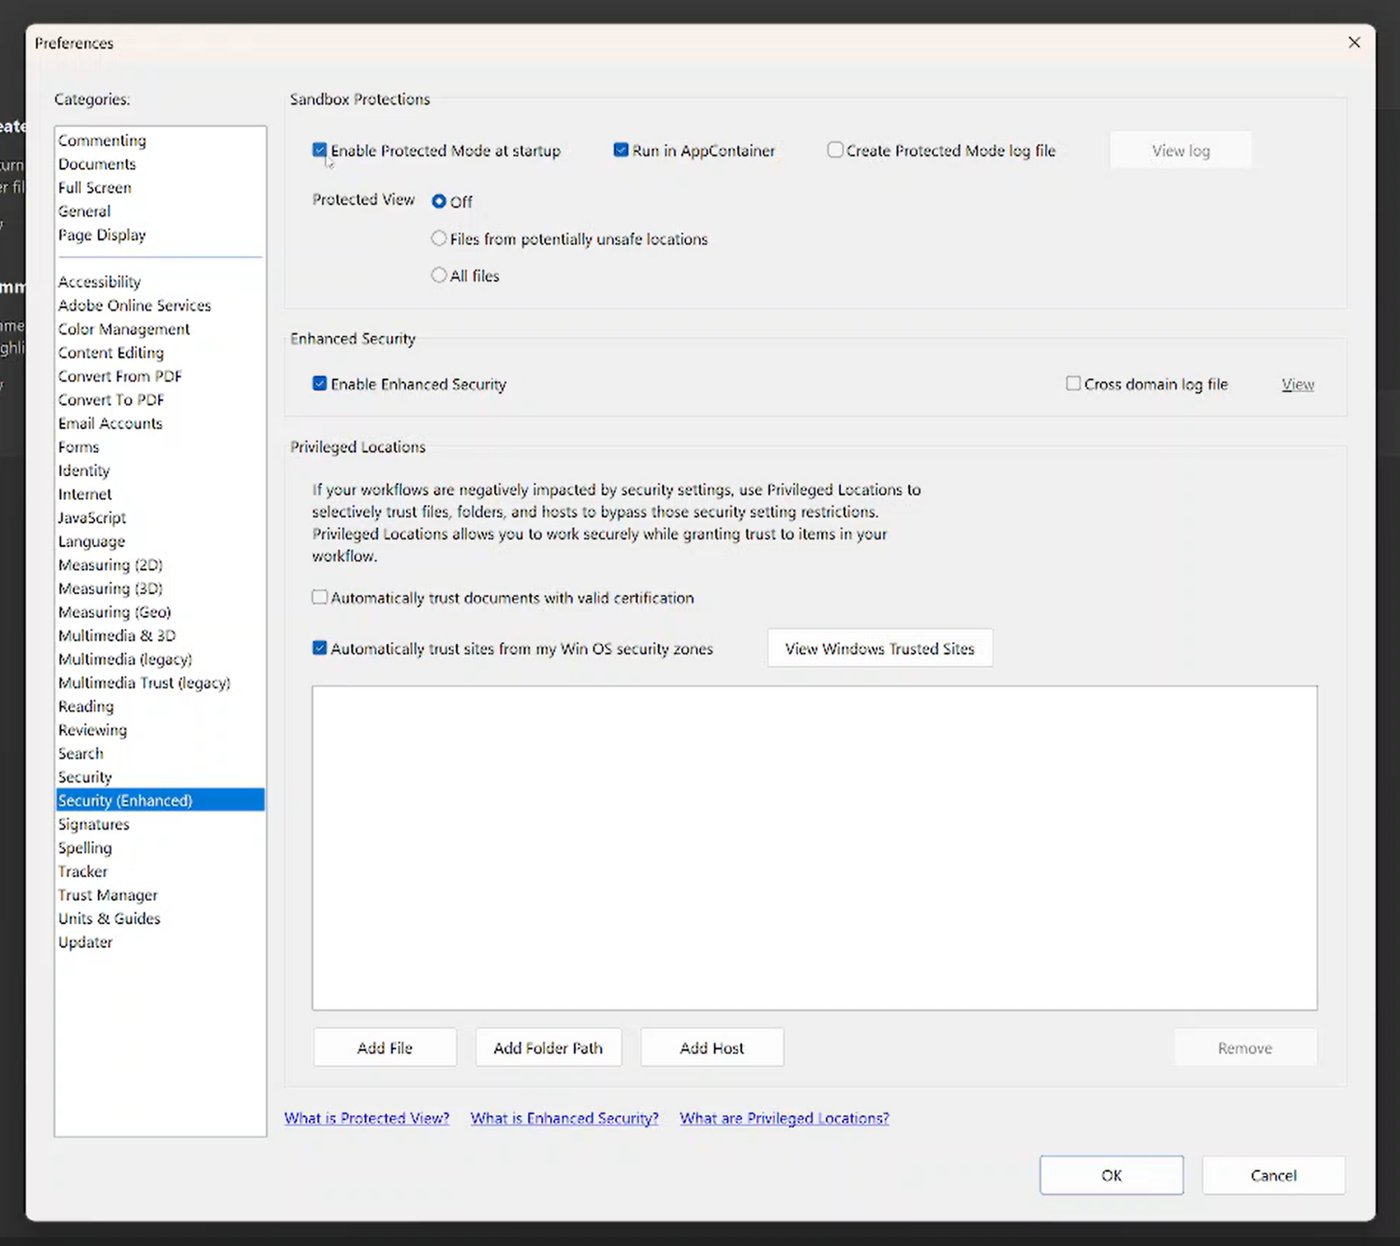
12. Then select "Security (Enchanced)" in the window that appears.
Uncheck "Enable Protected Mode at startup" to toggle this feature. This will allow features of PerfectLaw to function properly.
If all steps were completed successfully, your Adobe account and installation should function normally. If you notice any errors or have any difficulties, please submit a ticket through the typical channel, and a member of CCS staff will be happy to lend a hand.